- +49 1773780761
- info@alu-loeffel.de
- Rodebachstraße 4, 98544 Zella-Mehlis
Greetings
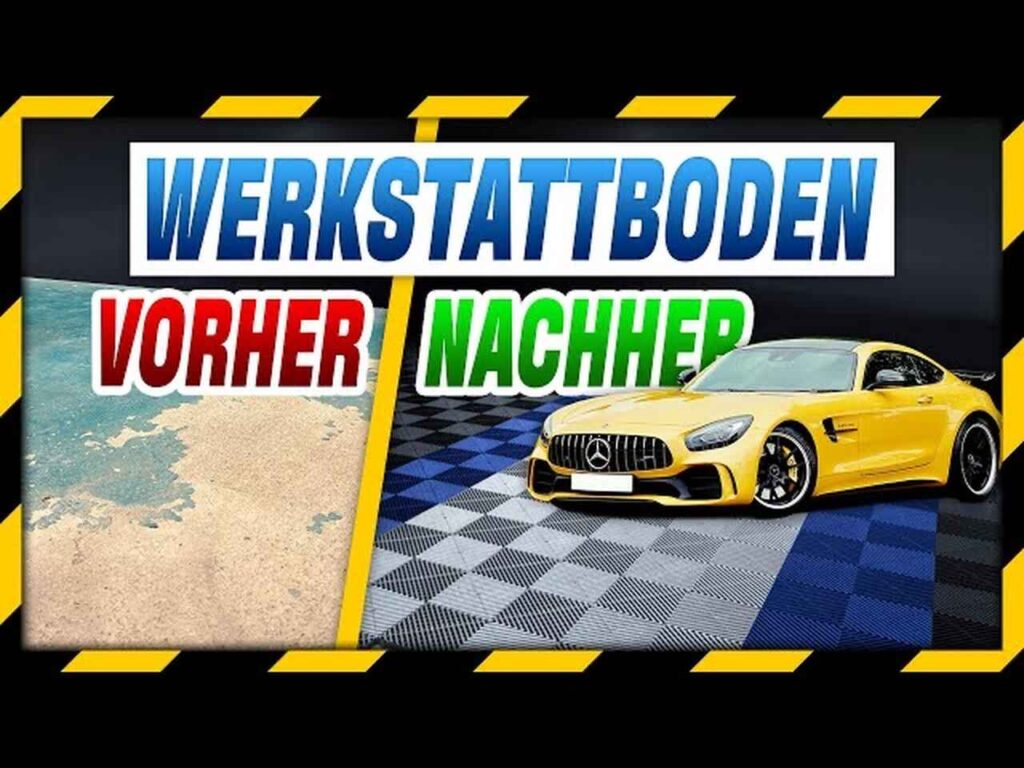
When deciding on the right floor covering for my workshop, I was faced with the challenge of finding something that was both robust and easy to handle.
The widely used epoxy resin was not an option for me due to the immense amount of work involved – from removing items to the time-consuming sanding of the floor. The dirt and the drying time of one to two weeks did not make the decision any easier.
After intensive research, I finally came across Performancefloor and their innovative plastic tiles with click system. The installation was not only extremely simple, but also time-saving. My workshop was up and running again within a few hours.
The tiles can be easily cut to size using a hand-held circular saw or jigsaw, which further simplifies the process.
To share my enthusiasm and show its resilience, I even created an extreme test video.
Take a look at it below to get an impression. An unbeatable advantage of this system is that the workshop always looks tidy. With only minimal maintenance, such as vacuuming once every one to two weeks, the floor remains spotless.
Important protect yourself NOW simply & cheaply from welding fumes!
For even more insights & advice subscribe to my WhatsApp Broadcast ( Free)
Take a look at our welding store !!!
Save 10% with the code: alu10
I hope my article on workshop floors has helped you. Take a look at my free tig welding tips HERE
“Be a part of our welding community & follow us for more exciting welding tips and tricks! 🔥👨🏭📷
Instagram 📷: https://www.tiktok.com/@aluloeffel?_t=8grBXk3VB32&_r=1
YouTube 🎥: @https://www.youtube.com/@AluLoffel
TikTok 📹: https://www.tiktok.com/@aluloeffel?_t=8grBXk3VB32&_r=1
Facebook: https://www.facebook.com/aluloeffel

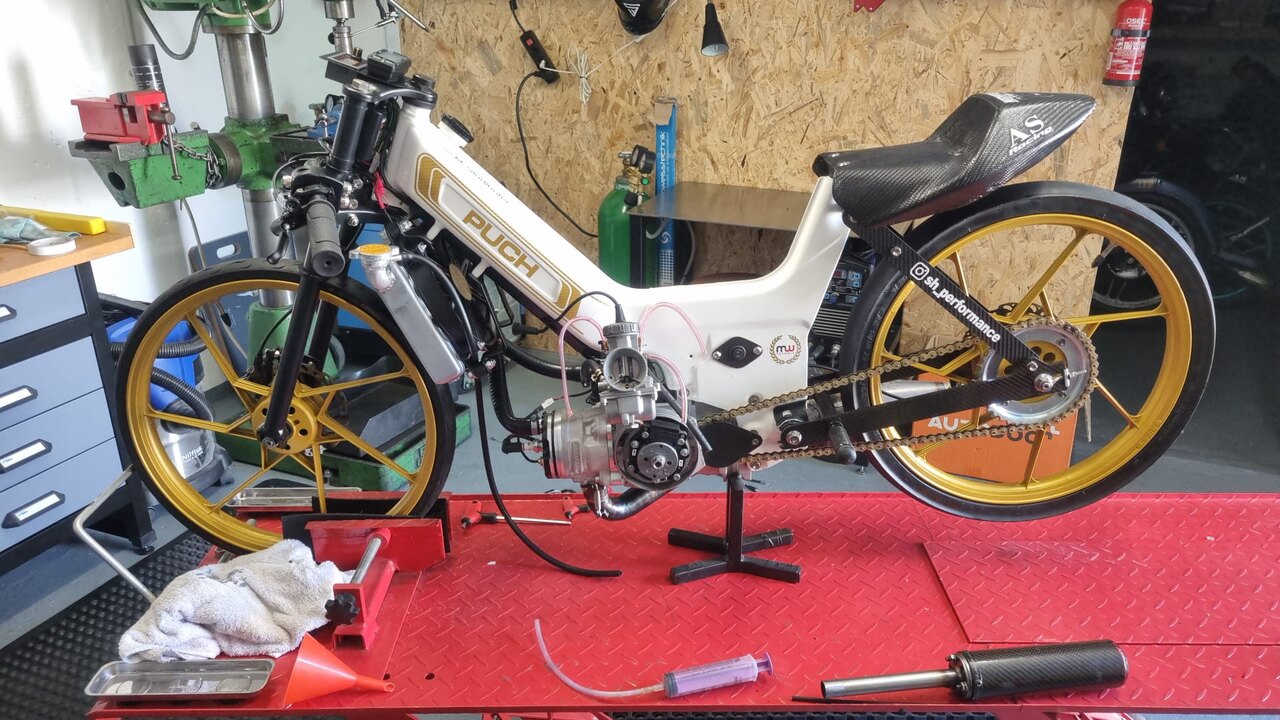
Puch Maxi Welding Repair Puch Maxi Welding Repair Topic Puch Maxi moped, known as 50cc standard moped, but also here of course some conversions
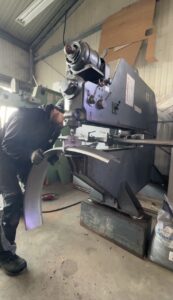
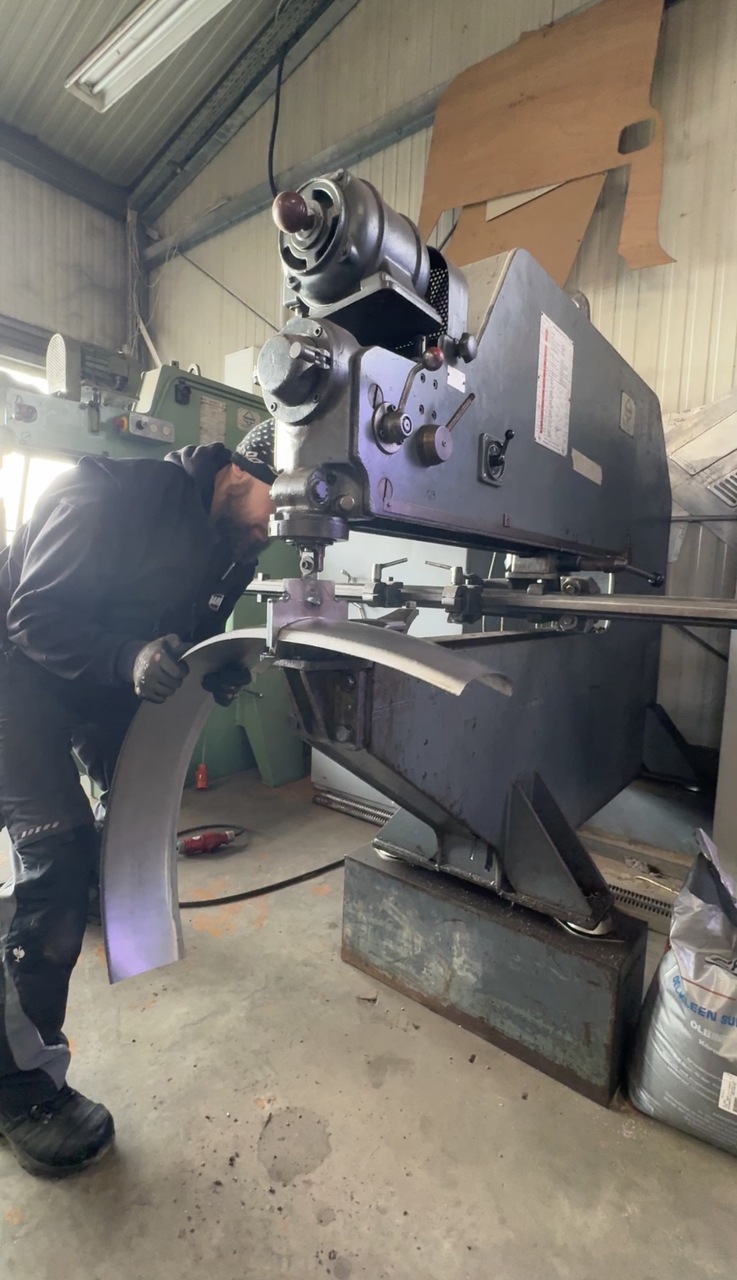
Body construction Producing wheel covers Body construction Producing wheel covers Bodywork construction and DIY projects. I recently immersed myself in the fascinating world of
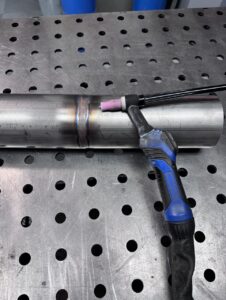
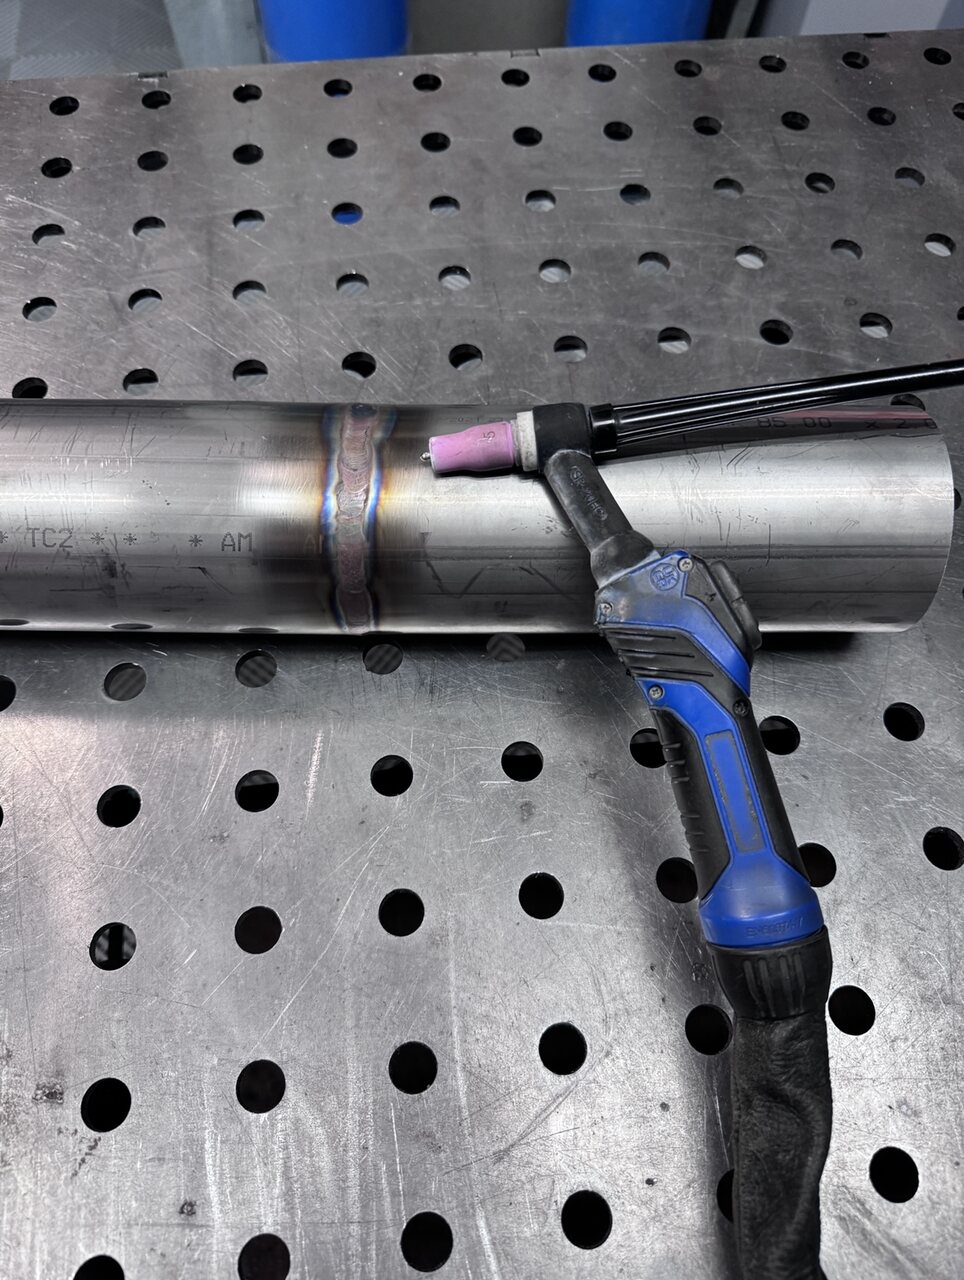
Pipe welding Pipeline construction Trade Pipe welding Pipeline construction Trade We have been dedicated to aluminum welding for over twelve years. Repair
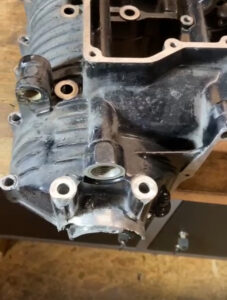
Yamaha FJ1200 engine housing repair / welding Repair and welding for long-lasting performance Yamaha FJ1200 engine housing repair / welding A Yamaha FJ1200
WhatsApp Support
Brief = 3,99 €
Kleingüter = 7,99 €
Mittelgüter = 10,99 €
Speditionsgüter = 18,99 €
Abholung vor Ort = 0 €
Versanddienstleister DPD
10 % sparen auf Deine 1. Bestellung*
Komm in den Alu Löffel Club
* Mindestbestellwert 100 €. Ausgeschlossen sind alle WELDINGER & Jasic, German Welding Tools Produkte
Save 10% on your 1st order in the online shop*
* Minimum order value 100 €. Excluded are all WELDINGER & Jasic, German Welding Tools products

Oster-sale
18.-21.04.2025
Oster-sale 18.-21.04.2025
10 % Auf alles in unserem Onlineshop – kein Mindestbestellwert
50 % Auf alle Onlinekurse
Dein Sparcode: ostern25
Summer Sale bis 04.08.2024
auf eine Vielzahl von ausgewählten Produkten im onlineShop
-15 % auf Schleifgeräte & -zubehör Code: summerschleifen15
-18 % auf Böhler Geräte & -zubehör. Code: summerböhler18
-8 % auf Jasic Geräte. Code: summerjasic8
-10 % auf Schweißzubehör Code: summerzubehör10
